Click here to access MyMCC. Alternatively, you can click MyMCC at the top of any page on MCC's website.
Click on Log In.
Select the User ID box and enter in lowercase the first letter of your first name, the first letter of your last name, and your seven-digit MCC ID.
Select the Password box and enter your password.
Click the "Faculty" button at the top-right of the screen.
Click on "Student Planning/Registration" under the "Faculty Information" section.
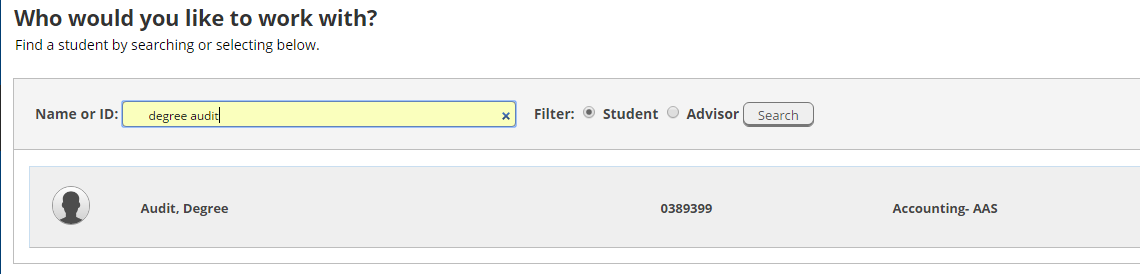
If the student appears in this list you may select them, otherwise, use the search function to find them via student ID or first and last name.
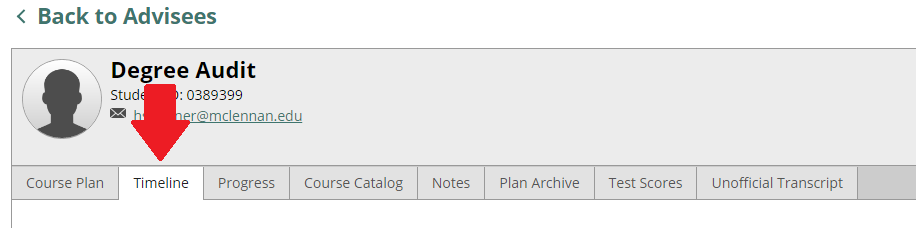
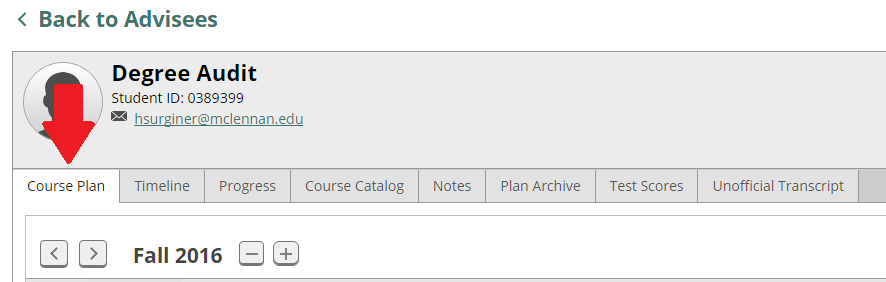
Navigate to the student's progress tab.
Select “Show Program Notes” to see system-generated remedial information
If the student is in the wrong degree plan, you must return to MyMCC to change their major. In order to see the refreshed info, you must look the student up again in the “Advising” tab.
In Student Planning, the process of advising centers around adding classes to a student’s “Timeline”. This can be done through selecting the class in the “Progress” screen or via the “Search for courses…” box.
If the student needs developmental courses or a learning framework course, we will need to add them first through “Search for Courses” box.
NOTE: Student Development will do this for new student’s following “Connections” prior to referring them to other advisors.
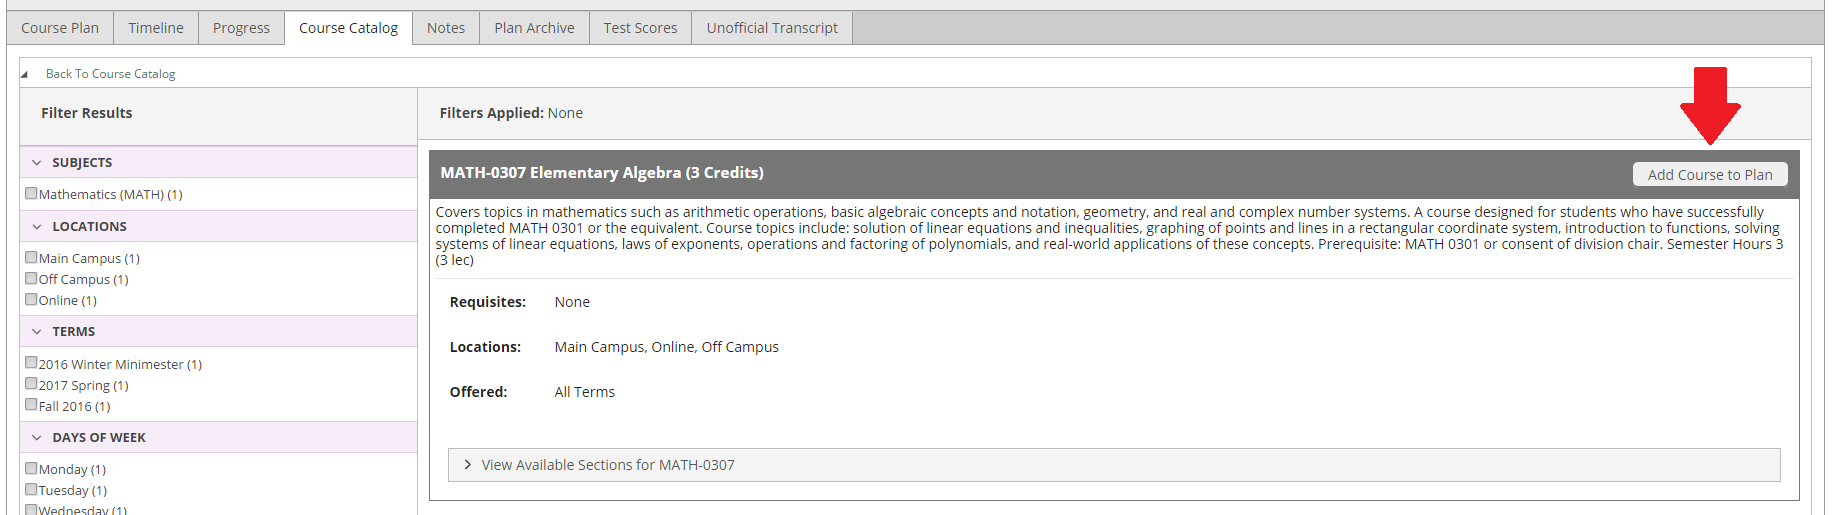
Search for the needed developmental course and select “Add Course to Plan”.
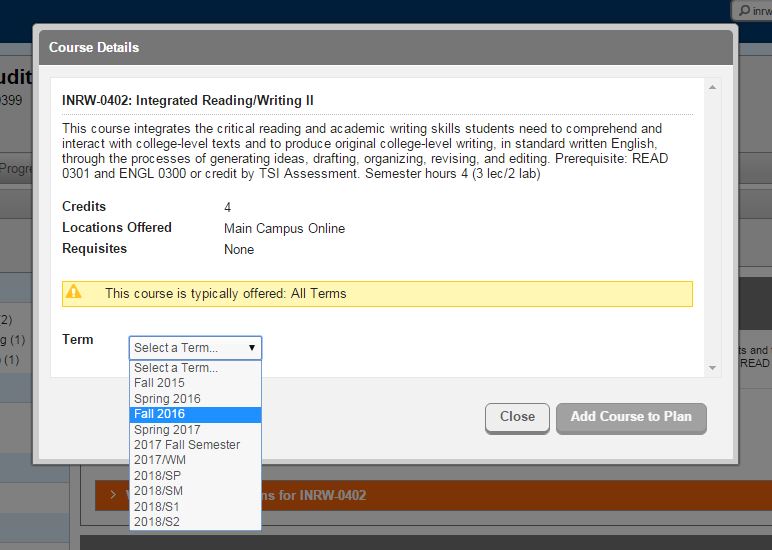
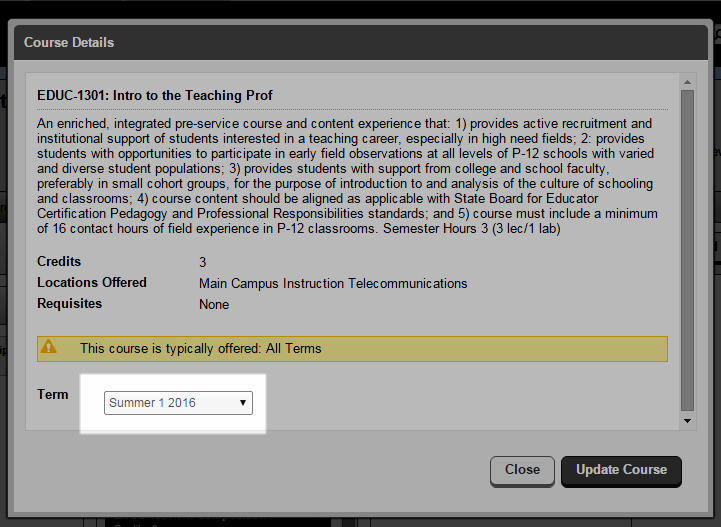
From the drop down menu, select which term you advise the student to take the course in question. Finish adding the course by selecting “Add Course to Plan”.
This action will add the selected course into the student’s “Timeline” tab. This is the principal activity of advising in Student Planning, populating the student’s timeline with future courses.
Some notes on the “Timeline” view:
Clicking the “X” on the right side of each course will remove it from the Plan.
Clicking on the Course Name will give you course information and the option to move it to a different term.
Once you’ve added all of the student’s developmental courses and learning framework course, we will begin to add classes through the student’s degree plan on the “Progress” tab. Return to that tab, and scroll down to the course listings.
Locate a course you wish to recommend and click on it.
In the following screen, select “Add Course to Plan” using the exact same process we previously used for developmental courses.
This process will add courses to the student’s “Timeline”. Continue to use either the “Progress” screen, or the “Search for courses…” box, to add classes until the student’s semester is completely built.
Some notes on adding courses:
Students will only be able to register for courses that you approve and place in their timeline. If a student is deciding between two alternative courses, you’ll want to add them both to their timeline. Ex. ARTS 1301 & MUSI 1306
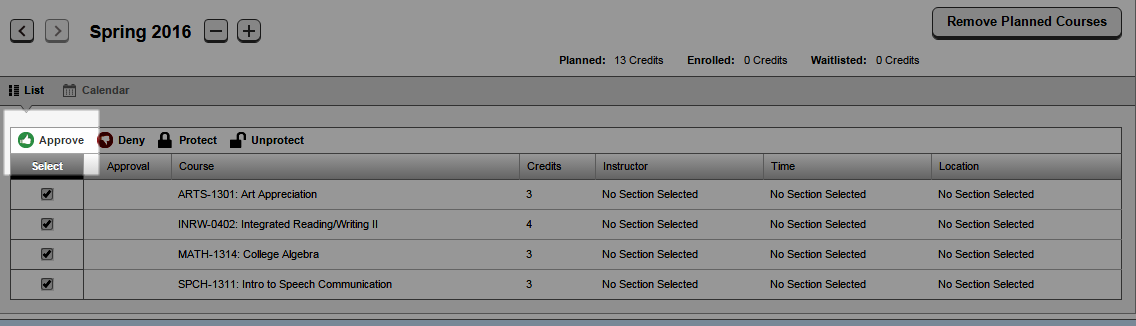
Once you are satisfied with a student’s planned semester, navigate to the “Course Plan” tab to complete the advising session.
Select each course and then click the “Approve” button to allow the student to register for them.
Additionally, you may also select courses to “Protect” which are imperative for the student to take.
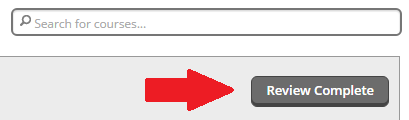
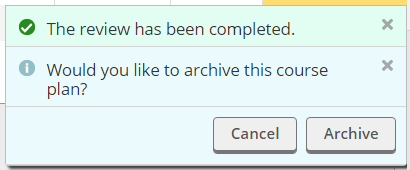
After approving a student’s schedule, select “Review Complete” to save the session.
When prompted to save the course plan, select “Archive” to permanently save the content of the advising session and email the student a copy of the outcome.